
The Slide Number always sits above the icon or thumbnail in column 1 of the PPT Slide block ...

To get started:
-
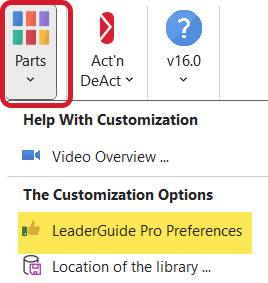
Click Parts in the Customize group on the LGPro ribbon
-
Click LeaderGuide Pro Preferences in the drop-down menu
-
This will open the LGPro Preferences wizard
To change your preference:
-
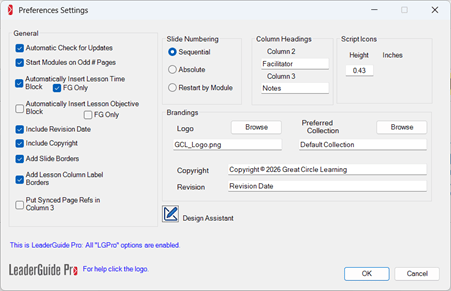
Select the Preference you need in the Preferences dialog box

To apply your change:
-
Click OK in the lower right corner of the Preferences wizard
-
Click Close in the lower right corner of the Preferences wizard
-
Your new Preference will apply to all new guidebooks you create
-
Your new Preference will NOT affect existing guidebooks
To update slide numbering:
If you add PPT Blocks from the LGPro ribbon, or if you delete or reorder PPT Blocks:
-
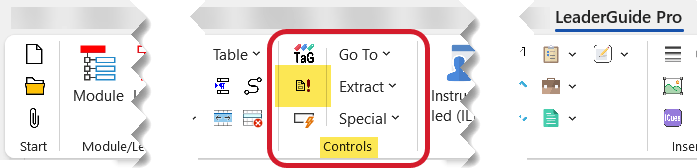
Click Update All Fields in the Controls group on the LGPro ribbon
Do NOT manually adjust the slide numbers
-
Manually changing the slide numbers will interfer with the automated LeaderGuide Pro Update All Fields function for those PPT Blocks.