


This is what you will see after saving your new facilitator guide ...
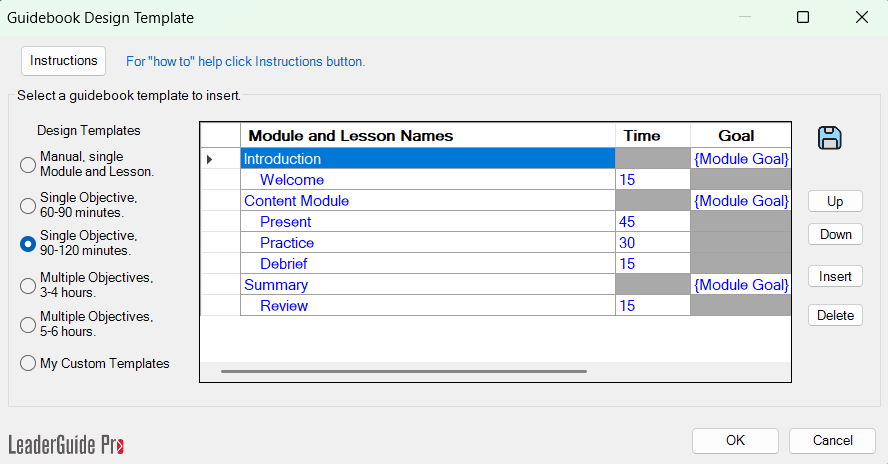
This is the GUIDEBOOK DESIGN TEMPLATE
You will use this to build the Module/Lesson macrostructure of your new facilitator guide.
-
Each Module will start on it's own page.
-
The module's Lessons will follow, with each new Lesson starting on a new page.
If you do not have an outline ready to work with:
-
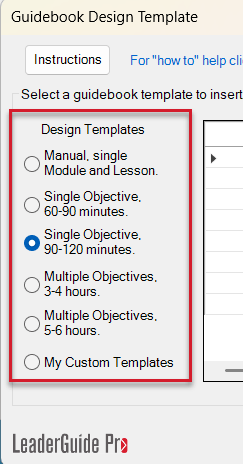
We recommend that you simply choose one of the course design templates provided.
-
Because once you click OK to transfer the outline into your new facilitator guide, this will help you literally see the way your new facilitator guide is meant to be set up.
-
And, once in your new facilitator guide, you can edit the Module and Lesson names, module goals and lesson times.
Next:
Edit to customize
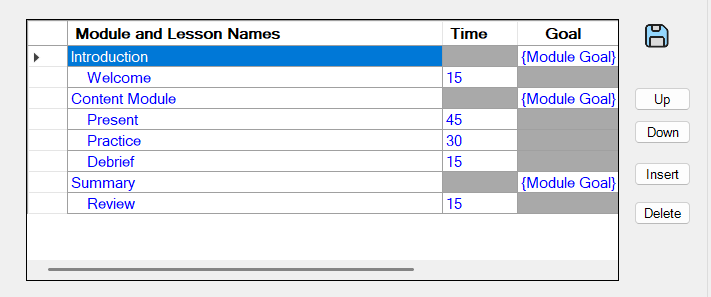
Use the table in the white box to edit the Design Template you selected.
-
The first row of the table must always contain a Module name and a Module Goal placeholder.
-
You can insert, delete, reorder, and edit any of the Module and Lesson rows.
-
The information you enter here can be further edited once you are in your new facilitator guide.
-
Module names (your topics) must be left justified.
-
Lesson names (your subtopics) must be indented at least one space.
-
To edit the default text, simply type over it.
-
Use the Up, Down, Insert, and Delete buttons to reorder or replace any row in the table.
-
Optionally, you can add a goal for each Module, which will appear on the Module Overview pages in your Facilitator Guide.
-
To add a goal, double-click on the left curly bracket of the “{Module Goal}” prompt.
-
Keep the goal to one sentence.
-
The table cell automatically resizes so you can easily review the text you entered.
-
-
You can also optionally add time, in minutes, for each Lesson.
-
The time should be your actual planned time for delivering the lesson’s content.
-
Lesson time must be entered as a numeric value.
-
If your planned lesson time is 2 hours, then enter 120. If it’s 15 minutes, then simply enter 15.
-
The time you enter here can be edited once you are in your facilitator guide.
-
-
If you are not ready to enter Module Goals or Lesson Times at this point, leave the Goal and Time prompts in place. LeaderGuide Pro will deal with it appropriately.
-
Do not leave any blank lines in your outline.
Once you are done editing
Save & Transfer Your Course Outline
-
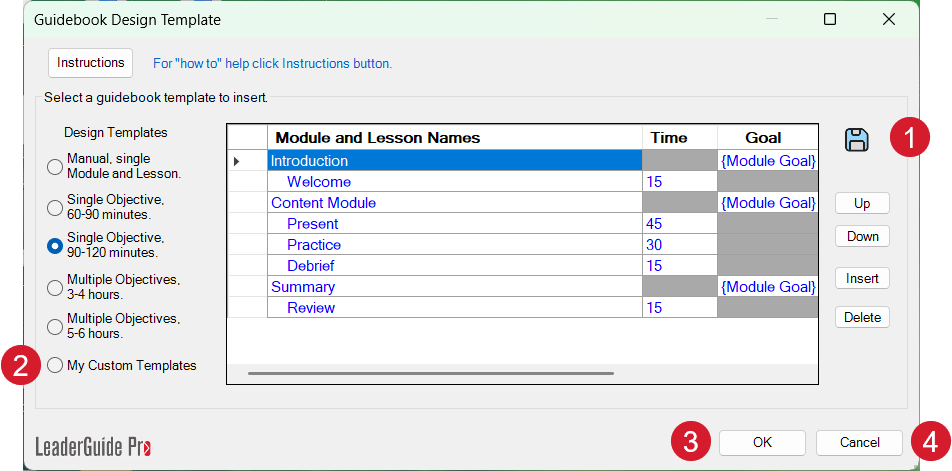
If desired, click the Save icon to save a copy of this course outline for future use.
-
To use a saved outline, click My Custom Templates.
-
Click OK to transfer the outline into your new facilitator guide.
-
LeaderGuide Pro will check your template structure and tell you if a problem exists, so that you can correct the problem and try again.
-
All the new modules and lessons from your outline are added into your new facilitator guide in the correct location.
-
In your new facilitator guide, the Table of Contents is updated and the Training at a Glance page is populated.
-
-
CANCEL
-
If you click the Cancel button, then your new facilitator guide is simply populated with one “New Module” page followed by one “New Lesson” page.
-
And then, once in your new facilitator guide, you can use the New Module and New Lesson buttons on the LeaderGuide Pro ribbon to add more modules and lessons.
-
After you click OK or CANCEL
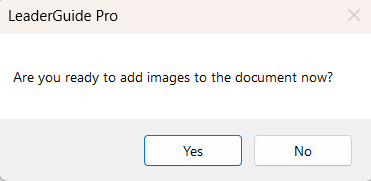
You will have the option to add PowerPoint
-
If you click YES, you will be guided through the slide import process.
-
If you click NO, you will see a message that your new Facilitator Guide is ready.