Adding Content to the First Three Pages
Cover Page - Acknowledgements Page - Table of Contents
This is Mostly Handled for You
Select an option below:
- Cover Page
- Acknowledgements Page
- Table of Contents (TOC)
The Cover Page
Every LeaderGuide Pro Facilitator Guide and Participant Guide has a Cover page.
The appearance of the Cover page varies, depending upon which Collection is selected when you start your new guidebook.
-
LeaderGuide Pro provides ten different Collections, with ten different Cover Pages.
-
And you can create Custom Collections with your own unique Cover pages.
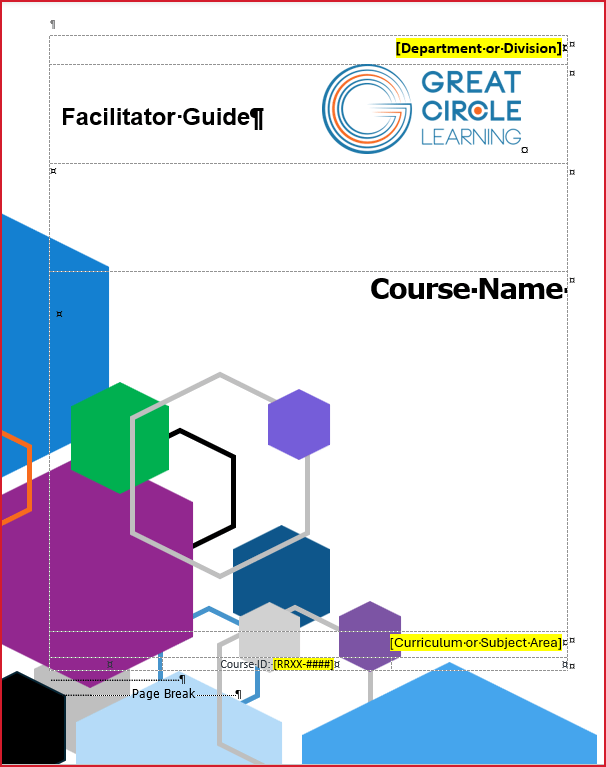
Cover Page Example
No matter which Collection you use, there are eight key elements on every Cover page.
Department or Division Logo Guidebook Type Course Name Curriculum or Subject Area Course ID Graphic Page Break
Learn more below ...

Department or Division
A placeholder for you to type over or delete.
Logo
LeaderGuide Pro automatically adds a logo to the Cover page. Customize your LeaderGuide Pro software by uploading your logo.
-
Click Parts > LeaderGuide Pro Preferences on the LGPro ribbon.
Guidebook Type
LeaderGuide Pro automatically adds the phrase "Facilitator Guide" or "Participant Guide" to your document's cover.
This terminology can be customized by clicking Parts > Manage Collections and then selecting the Collection you are working with and making your edits in the Style Guide - Naming Conventions wizard.
Course Name
The Course name is the "Program Name" you added when you started your new guidebook.
To edit this name, make your changes on this page and then click Update All Fields on the LGPro Ribbon.
Do NOT manually change the style.
The Course Name style is coded to repeat in various places in your document.
To change the font or other characteristics of the Course Name:
Click Parts> Manage Collections, select the Collection to modify, select the Style Guide and follow the instructions on how to modify a style.
Curriculum or Subject Area
This is a placeholder that you can type over or delete.
Course ID
This is a placeholder that will display the Course ID you added when you started your guidebook.
The Course ID is a searchable field in Windows Explorer. It will also attach to documents you extract or import from, to create an audit trail.
Page Break
Do NOT delete. The Cover is meant to be one page.
If you turn Word's formatting marks off you will not see the page break and could easily delete it by mistake.
Graphic
A customizable page design feature.
To add your own page design, click Parts > Manage Collections and select the Collection you want to work with. Then select Cover Page and make your changes. Be careful not to delete the various Cover page placeholders.
The Table of Contents
Every Facilitator Guide and Participant Guide includes a Table of Contents.
LeaderGuide Pro builds and updates the TOC for you.
In a Facilitator Guide, the TOC lists the guidebook contents based on the included Introductory Materials and then the names you give to your Modules and Lessons, which are equivalent to Word's Heading 1 and Heading 2.
In a Participant Guide, the TOC lists the guidebook contents based on the included Introduction Module and then the names you give to your Modules and Lessons, which are equivalent to Word's Heading 1 and Heading 2.

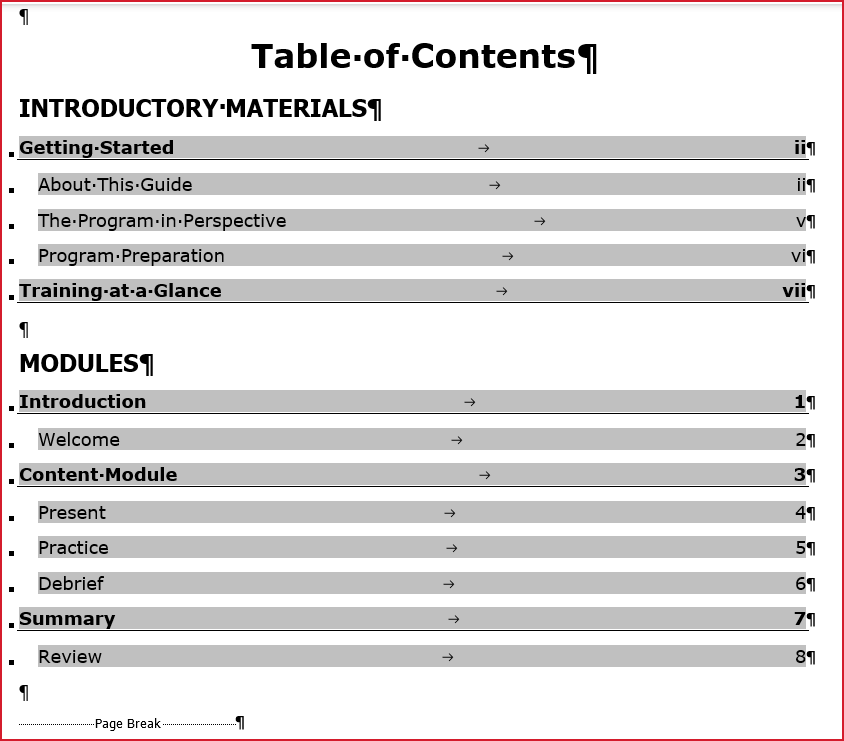
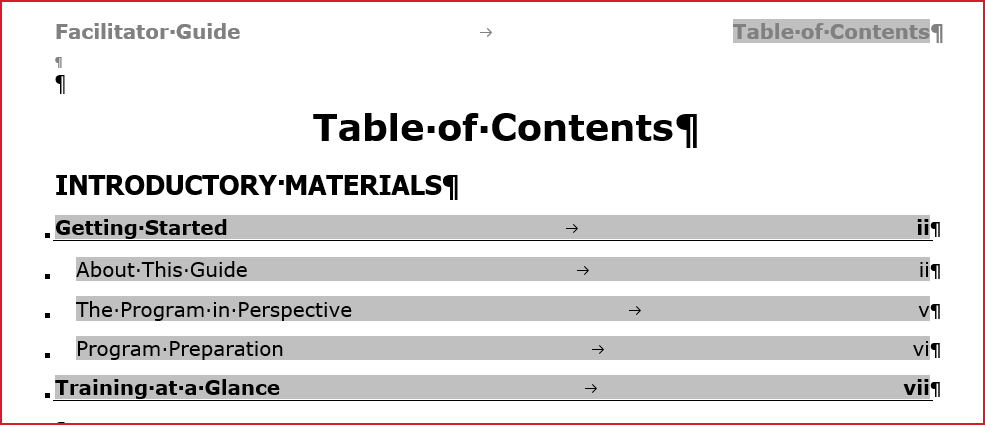
Facilitator Guide Table of Contents Example
Every Table of Contents contains these elements.
Introduction Modules Lessons Page Break
Learn more below ...
Introductory Materials (Facilitator Guide only)
Every LeaderGuide Pro Facilitator Guide sets up with this Introductory Materials section. The TOC listings work like the Module and Lesson listings. To edit a TOC entry, go to the specific page, edit the name, and click Update All Fields on the LGPro ribbon.
To remove the Introductory Materials - except the Training at a Glance
-
In an existing document, carefully delete the pages you do not need and click Update All Fields.
-
For new documents, click Parts > Manage Collections > select the Collection to modify > select the parts to include or not.
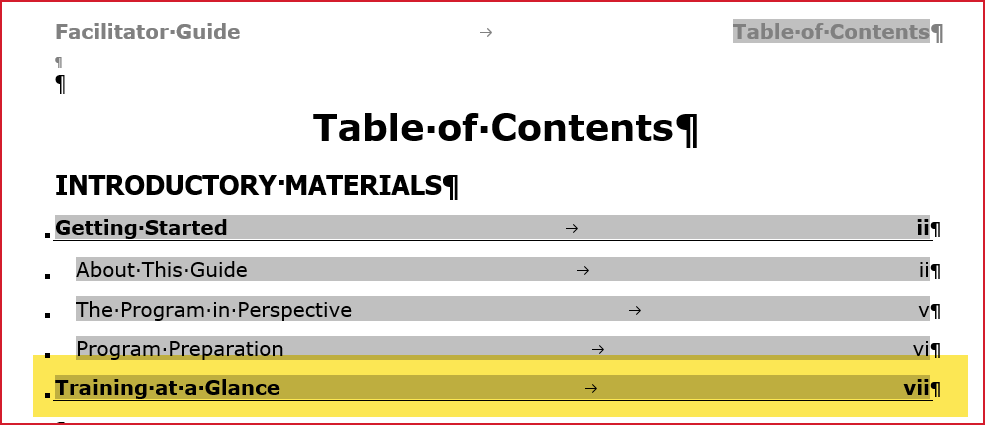
Training at a Glance (TAG) (Facilitator Guide only)
The Training at a Glance serves as an advance organizer for the instructor, listing all of the Modules in the training program along with the time required for each and brief description of what takes place in the Module. It is a helpful tool for the instructor. And, for the developer, you can navigate to each module from this page. Thus, most of the time you will want to include the TAG in your Facilitator Guides.
To remove the Training at a Glance:
-
For new documents: Click "Exclude TAG" in the Start a New Guidebook wizard as you start a new document.
-
In an existing document: Do NOT manually delete the Training at a Glance. Instead, extract a new document: Click Extract > Current Guidebook to Another Type of Guidebook. Choose to extract everything. Click "Exclude TAG" in the Start a New Guidebook wizard. Work in the new document.
Modules
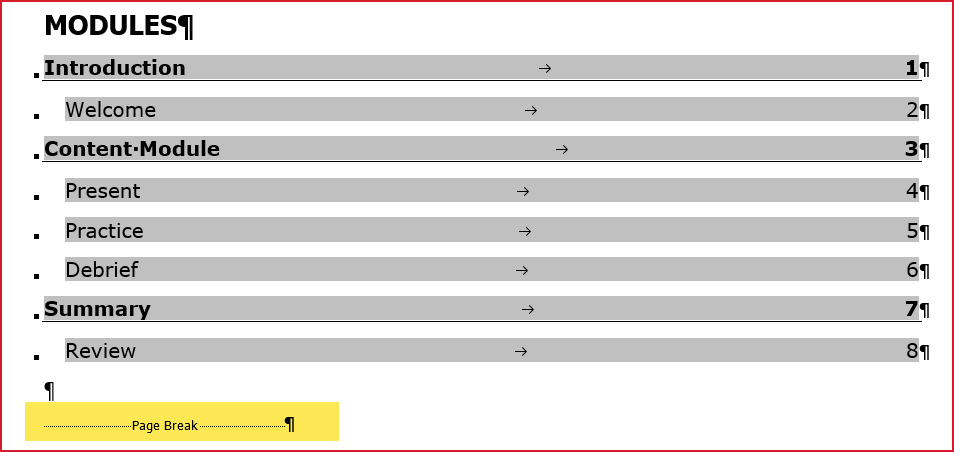
The Modules section is the heart and soul of your Facilitator Guide. This section contains your instructional content.
To edit a TOC listing of a Module or Lesson, go to the specific page, edit the Module or Lesson Name, click Update All Fields. Note that Lesson Names can only be edited on the first page of the Lesson.
To add Modules or Lessons to the TOC, go to the spot in your document where you want the Module or Lesson to sit and add what you need from the Module/Lesson Control group on the LGPro ribbon. Then click Update All Fields.
To remove Modules or Lessons from the TOC (and your document):
-
Click Librarian in the Module/Lesson Control group.
-
Select the option to Delete Modules or Lessons.
-
LeaderGuide Pro will remove the content and update the TOC for you.
-
NOTE: You can use Librarian to Archive (Save) a copy of the Modules and Lessons before deleting them, if you think you might need that content in the future.
FYI: The Table of Contents will flow over multiple pages as needed, as you add content. The last thing in your TOC will be a Page Break, added by LeaderGuide Pro. Do NOT delete the page break.
The Acknowledgement Page
Every guidebook contains an Acknowledgements page.
This page follows the Cover page, to hold your copyright and other publisher/legal information.
It also provides space to recognize contributors to the course and to hold your contact information.
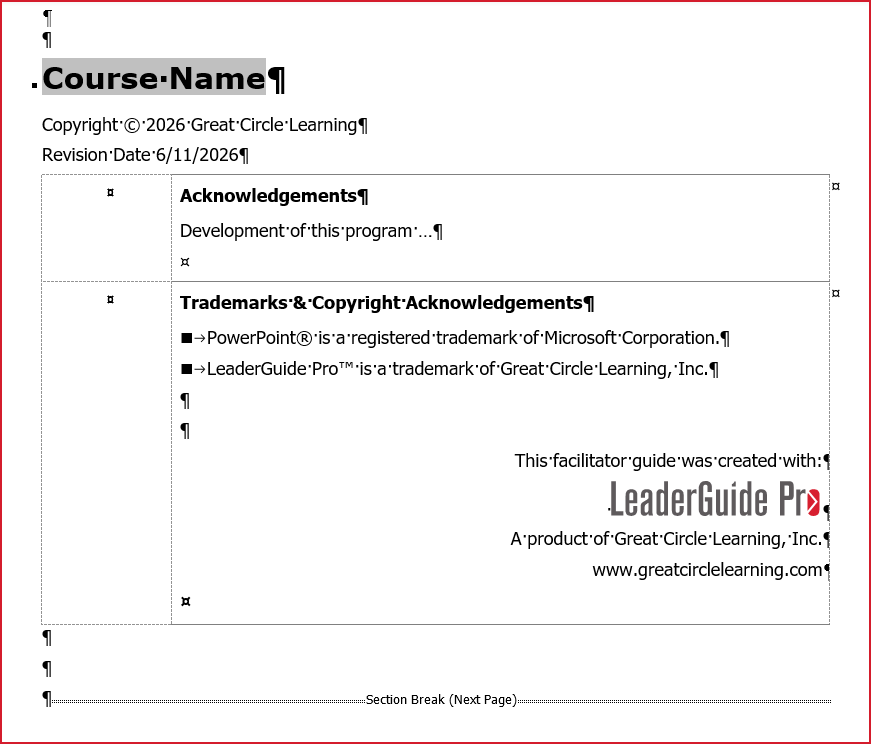
Acknowledgements Page Example
Every Acknowledgements page contains these six key elements.
Course Name Copyright Revision Date Acknowledgements Trademark & Copyright Acknowledgements Section Break
Learn more below ...

Course Name
This is a field that picks up the Course Name on the Cover page.
To change the Course Name, edit it on the Cover page and click Update All Fields on the LGPro ribbon.
Copyright
The copyright shown is what was entered as you started your guidebook. This will repeat in the footer of the odd-numbered pages.
To edit the copyright in an existing document, carefully edit the text without changing the style.
To edit the copyright for all future guidebooks, click Parts > LeaderGuide Pro Preferences on the LGPro ribbon.
Revision Date
LeaderGuide Pro will insert the date you started your guidebook. This will repeat in the footer of the odd-numbered pages.
To edit the phrase "Revision Date" click Parts > LeaderGuide Pro Preferences on the LGPro ribbon.
To edit the date, carefully type over the date shown on the page. Do NOT change the style.
Acknowledgements Block
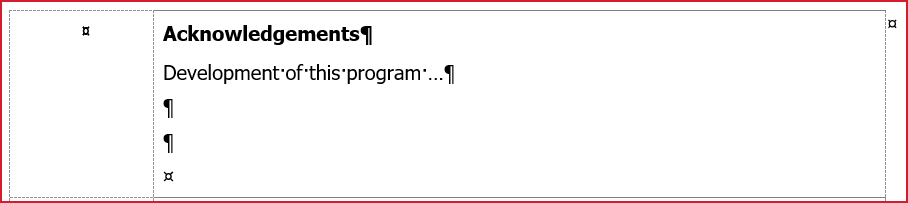
This is a two-cell table row, formatted like a LeaderGuide Pro Content Block. The first cell is left empty. Use the second cell to acknowledge program contributors, or to contain any other information you would like to place here.
The first line is formatted with LGP Title Text, as a headline. To edit, simply type over the existing text.
After hitting enter, the formatting will change to LGP Text, which is equivalent to a regular font in Word.
To add bullets or numbering, use the buttons in the Text/Table Formatting group on the LGPro ribbon.
Trademarks & Copyright Acknowledgements Block
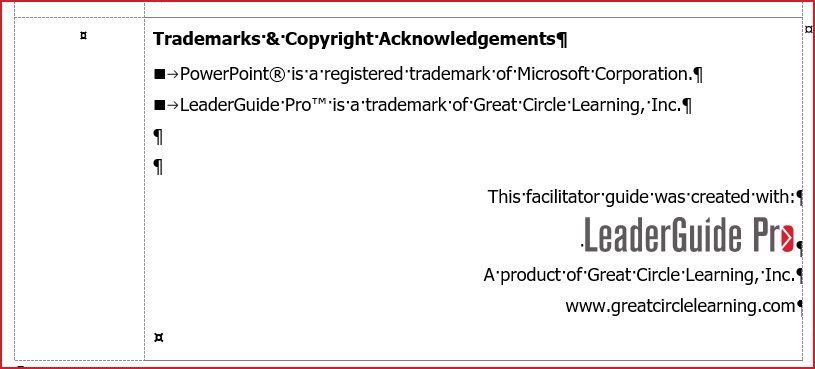
This is another two-cell table row Content Block. The first cell is left empty. Use the second cell to acknowledge copyrights and trademarks, or to contain other information.
The first line is formatted with LGP Title Text, as a headline. To edit, simply type over the existing text.
The subsequent text is formatted as LGP Bullet 1. To change this, use the text buttons in the Text/Table Formatting group on the LGPro ribbon.
Section Break
DO NOT DELETE.
If you turn Word's formatting marks off, you will not see the section break and it will be easy to accidentally delete it.
If you delete this section break you will remove the Header and Footer functionality for the rest of the document.